


| Point Cost: 293 | Raw DPM: 2,385 | Raw CPM: 6.53 |
|---|
Retribution: Weapons
- [8] Torpedo Launcher *Special Weapon
Basic (4 Uses) | Melta (4 Uses) - [3] Lance Turrets
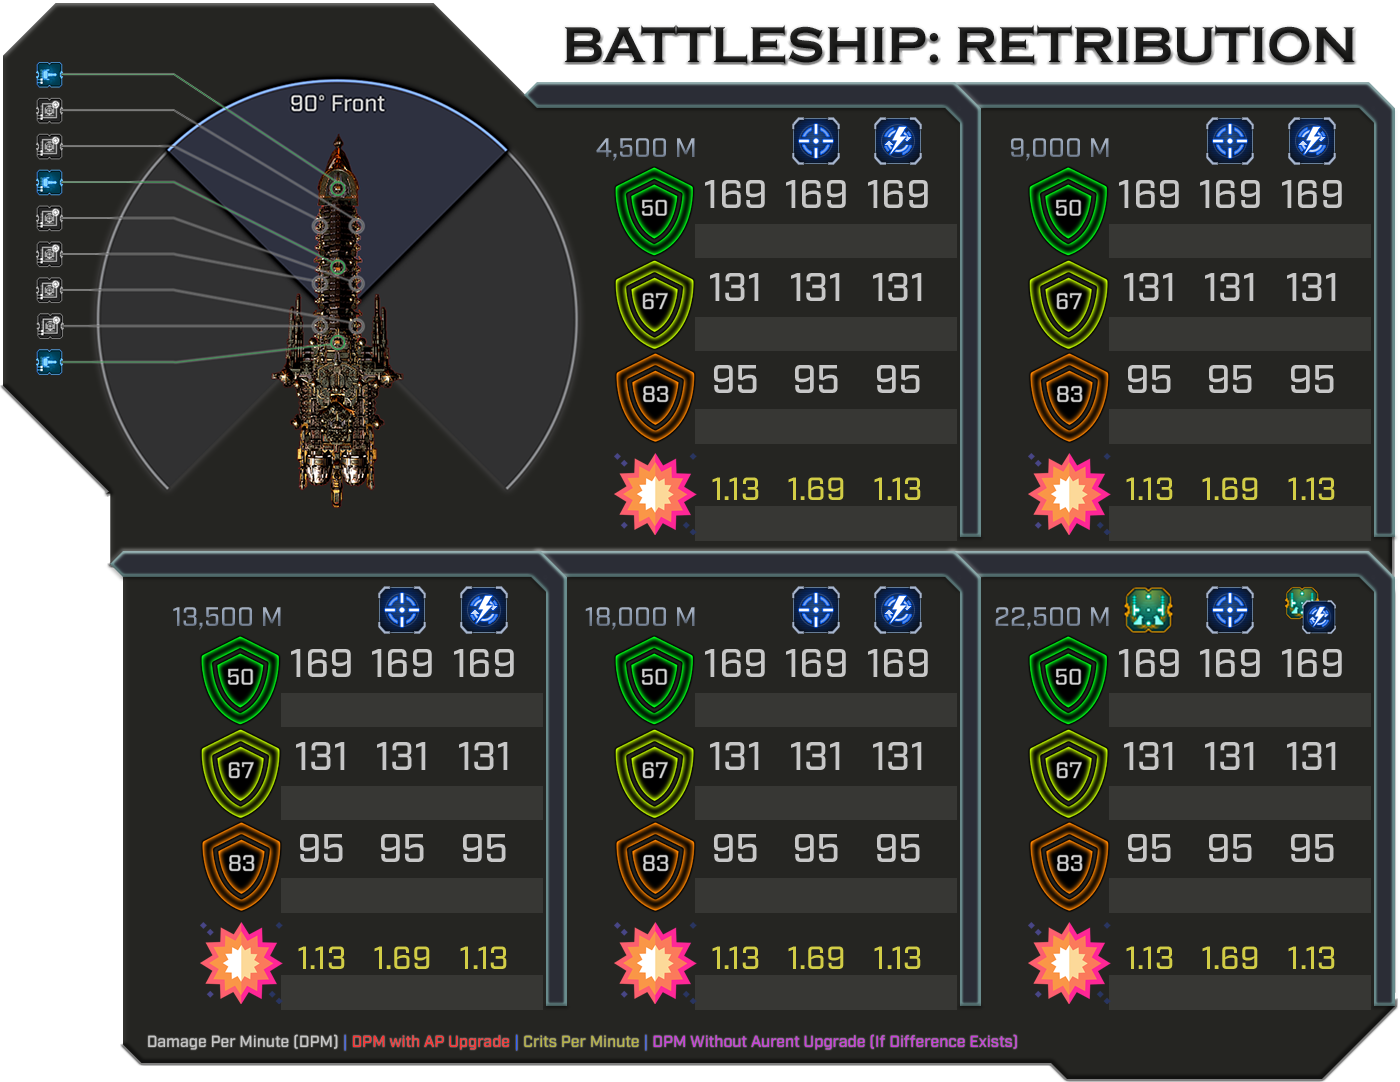
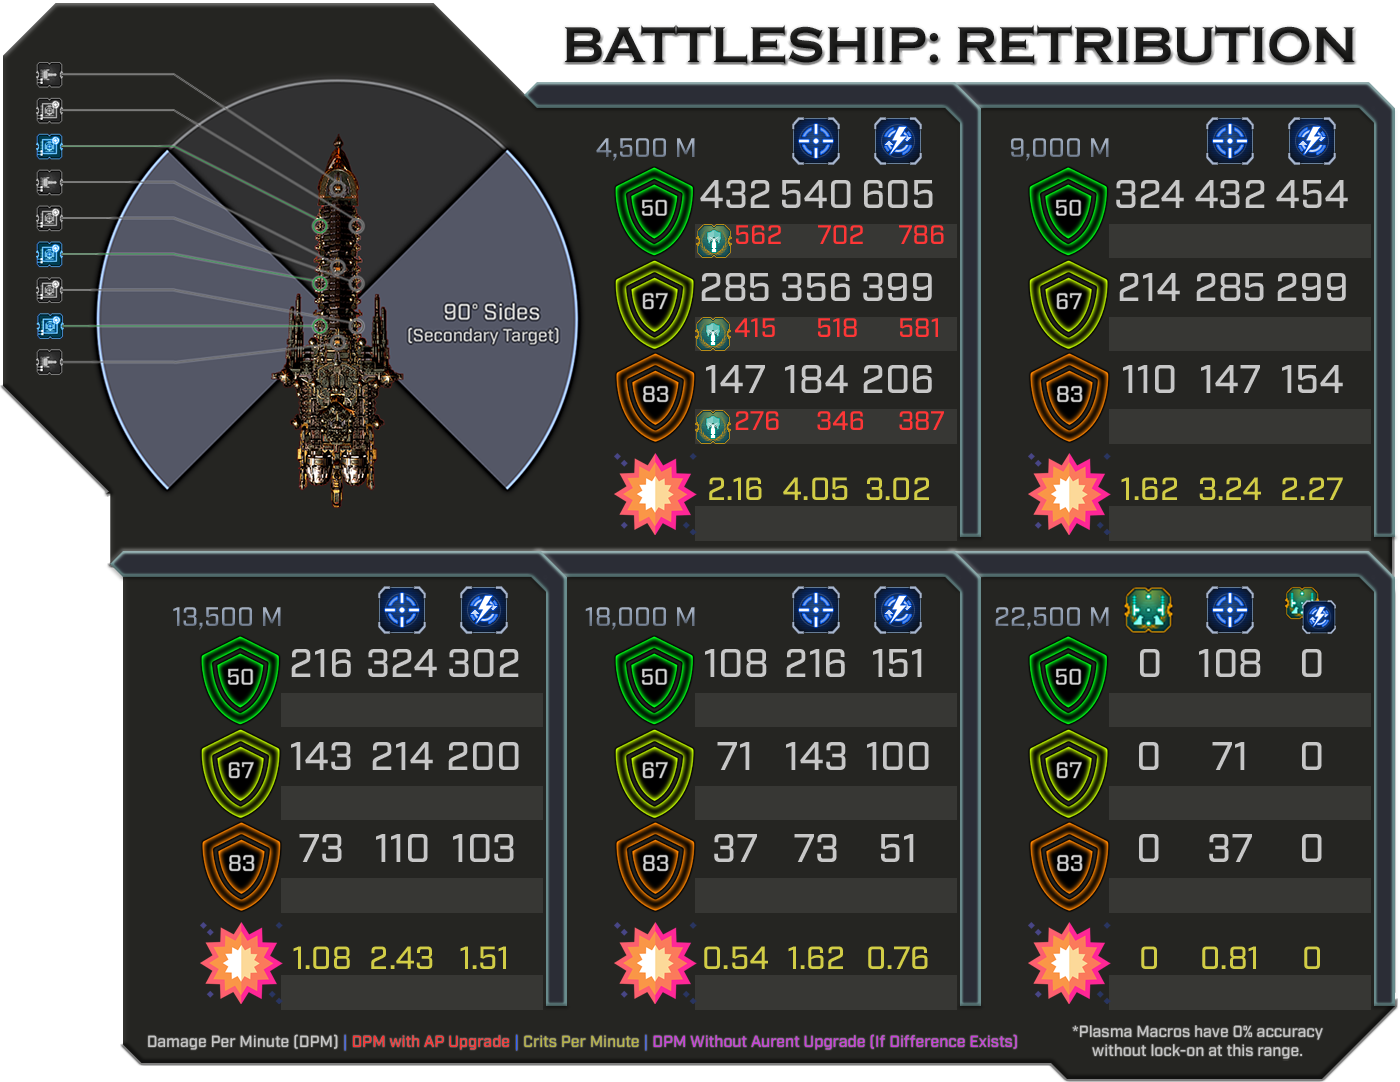
Perfect Accuracy – 270° Front – Range: 18,000
Shots: 1 | Damage: 15 | Reload: 12s | Crit: 7.5%Armor Piercing (-25%) - [6] Plasma Macro Battery Weapons
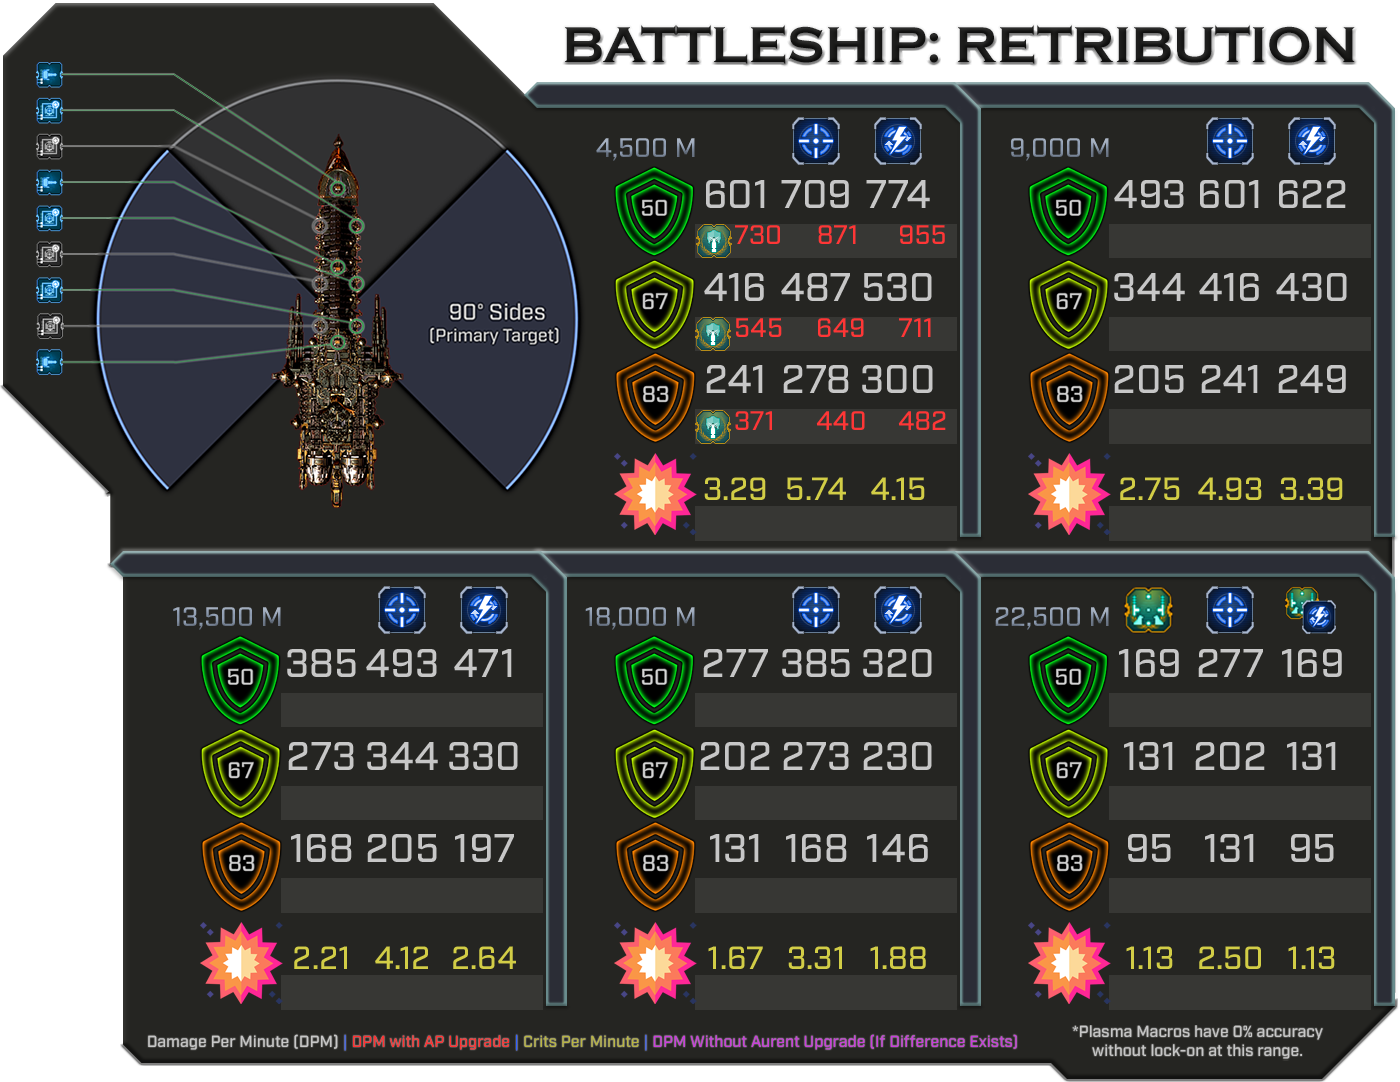
Efficient Accuracy – 90° Sides* – Range: 18,000
Shots: 4 | Damage: 18 | Reload: 12s | Crit: 4.5%
*2 per Broadside - Spur
+40% Ramming damage
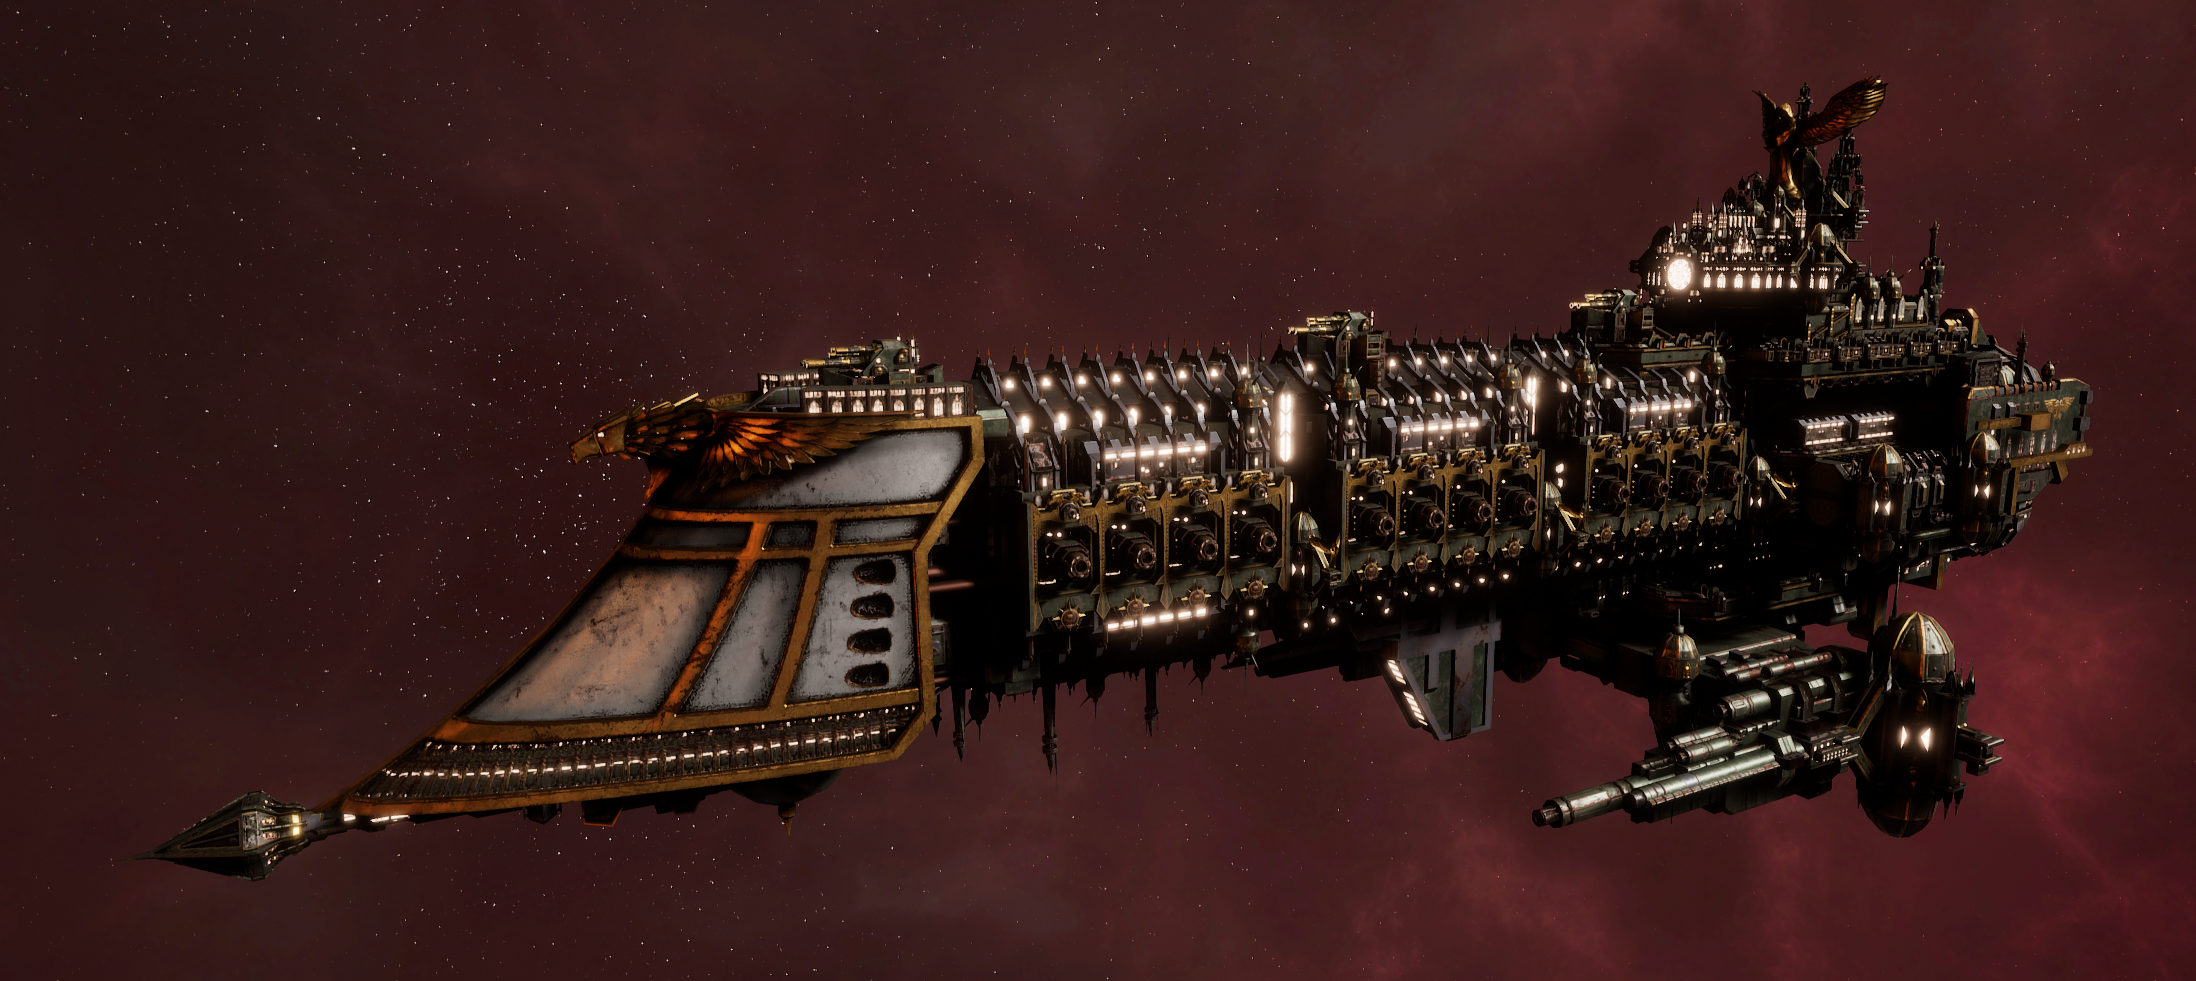
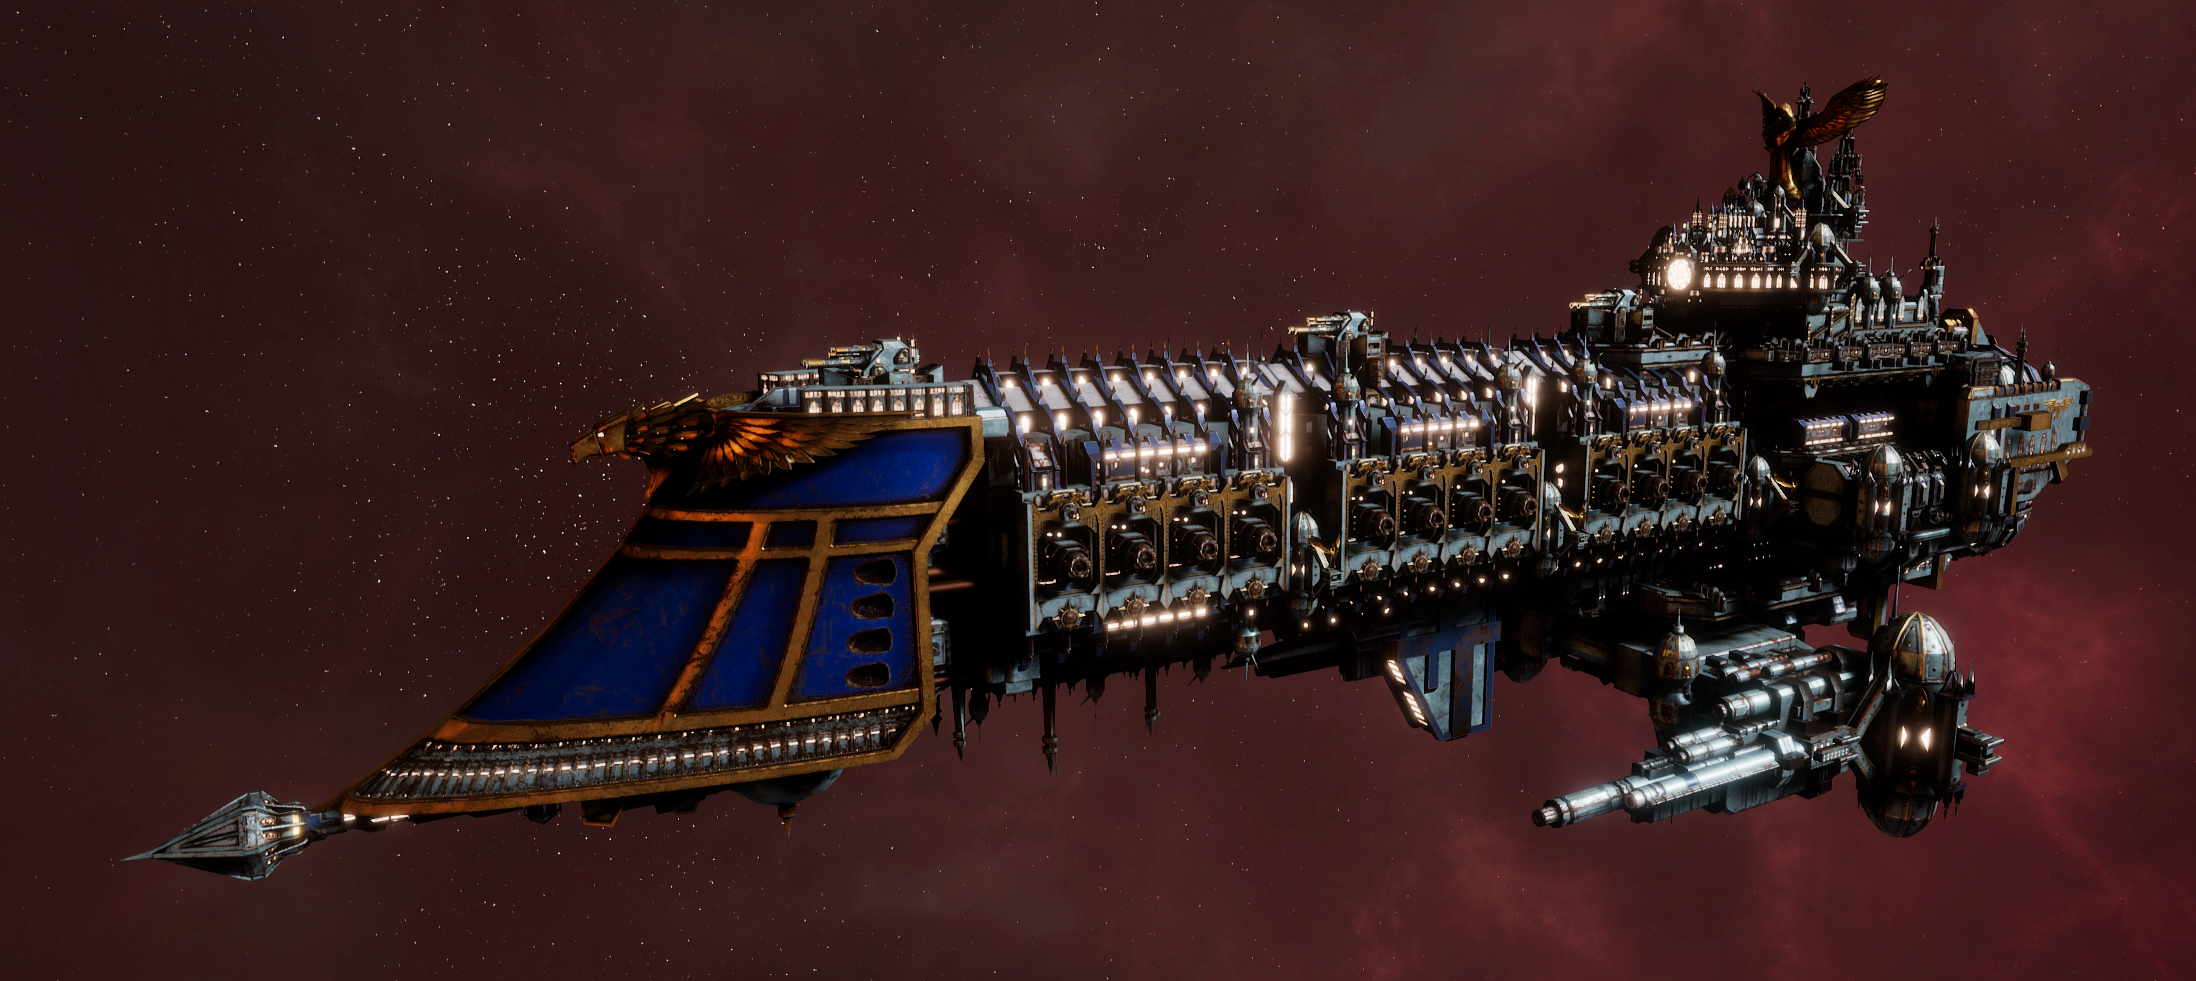
The Retribution is the apex of packing in macro turrets into a hull, complimented by giving the offensive turrets down the body of the ship lances as opposed to more macros, just to give a touch of versatility without compromising that sweet sweet raw DPS. Since macros always get better at range, it provides a good synergy with the massive torpedo tube array and the ramming spur, which as you can imagine, pulling of a successful ram with a Battleship with a ramming bonus is utterly devastating to anything slightly smaller than itself, though the Battleship’s slow speed will make that extra difficult for you.
The pure DPS output and crits per minute allows the Retribution to reliably take on multiple enemy ships and strip subsystems off like crazy. Striking just about any ship with a full spread of eight torpedoes is going to do devastating damage all on its own and that works for either variant, as eight fires burning simultaneously will make health bars evaporate. Both have significantly damaging effects on morale to boot.
Thanks to the torpedo tubes, lances and spur, Retribution takes the spot for highest burst damage potential if one can pull off a full salvo and ram followup, capable of crippling if not destroying cruiser sized vessels outright within seconds if properly timed.